

How To Remove Background Color In Photoshop
Photoshop offers many unlike techniques to remove an unwanted background from an image. For uncomplicated backgrounds, using the standard Magic Wand tool to select and delete the groundwork may well be more than adequate.
For more complicated backgrounds, y'all might apply the Background Eraser tool. This tool samples the color at the middle of the brush so deletes pixels of a similar color as y'all "paint." It feels like painting with acrid. Let me show you lot how information technology works.
1. Open your paradigm
—
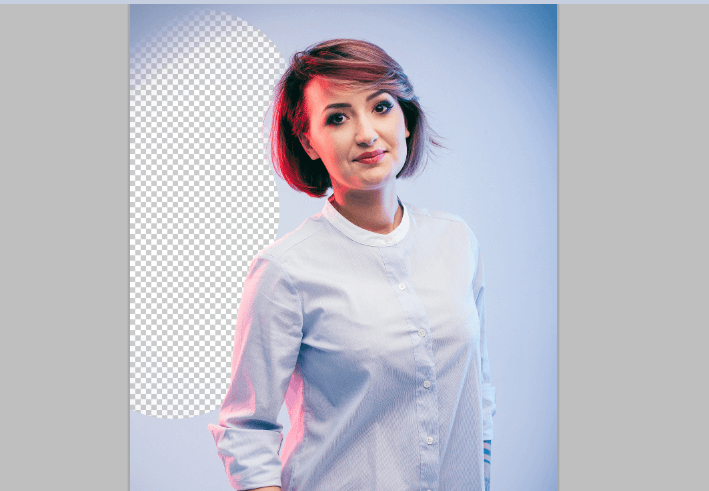
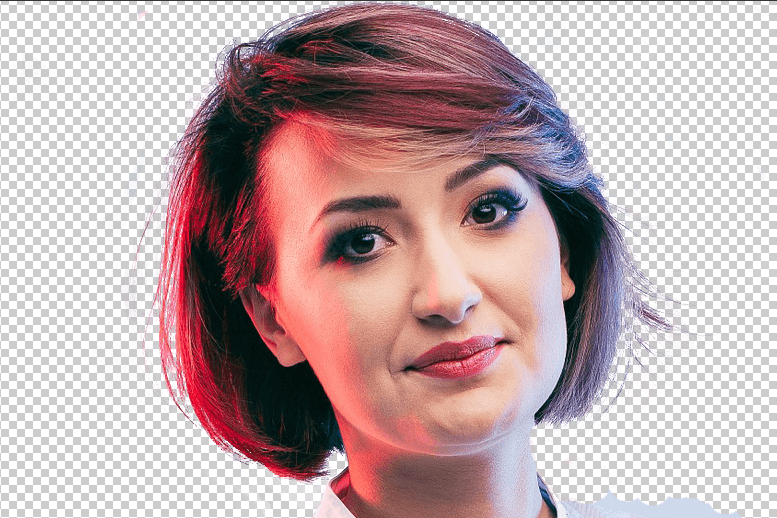
Get-go past grabbing an image that you want to remove the background from. I'll be using this prototype as it features areas that range from easy removal through to more challenging spots.

2. Select Background Eraser
—
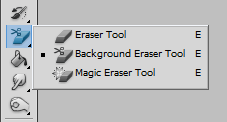
Select the Background Eraser tool from the Photoshop toolbox. It may exist hidden beneath the Eraser tool. If information technology is, only click and concord the Eraser tool to reveal it.
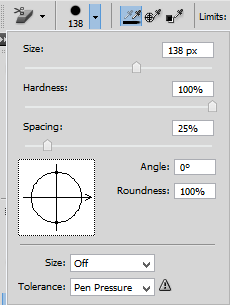
On the tool options bar at the height of the screen select a round, hard castor. The near appropriate brush size will vary depending on the image yous're working on. Apply the square bracket cardinal ([ or ]) for rapidly scaling your brush size.
Side by side, on the tool options bar, set the Sampling to Continuous, the Limits to Find Edges and a Tolerance of somewhere between twenty-25% is a good starting identify.
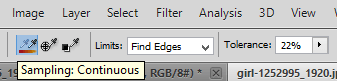
Note: A low tolerance limits your eraser to areas that are very similar to your sampled color. A higher tolerance expands the range of colors your eraser volition select.
four. Begin erasing
—
Bring your brush over your background and begin to erase. You should meet a brush-sized circle with small crosshairs in the center. The crosshairs show the "hotspot" and delete that color wherever it appears inside the brush area. It likewise performs smart color extraction at the edges of any foreground objects to remove 'colour halos' that might otherwise be visible if the foreground object is overlayed onto another background.
Notation: For the example image, I actually used a rather high Tolerance than the 20-25% recommended above due to the wide range of blues behind this subject area.
When erasing, zoom upward your piece of work area and try to keep the crosshairs from overlapping on the edge of your foreground. It's likely that you volition demand to reduce the size of the brush in some places to ensure that you lot don't accidentally erase part of your foreground field of study.
5. Choosing effective limit and sampling settings
—
Fifty-fifty though I have used a smaller castor to work around the hair and neck expanse, the Background Eraser has still managed to gouge a few chunks out of the hair and shirt.

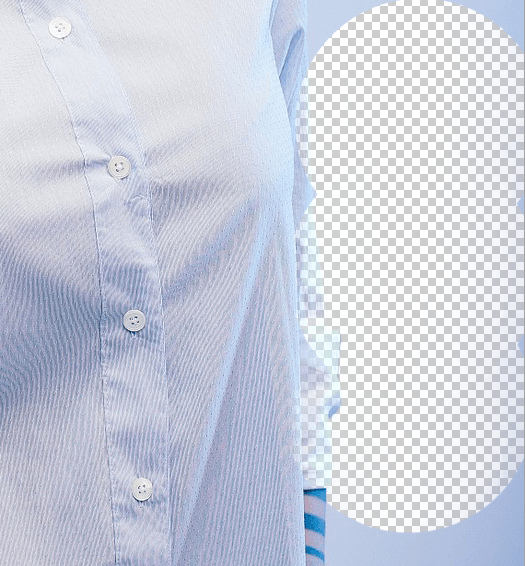
For foreground prototype areas that share colors with the background (like this one), yous may need to adapt the Sampling andLimits. In this pic, I switched over to the Sampling: Once option, set my Limits to Discontinguous and set my Toleranceto 30%.

The Sampling: Once option samples the color nether the crosshair only the moment you click and it doesn't resample every bit you lot move your brush along. The Discontiguous Limit option allows you to erase all pixels that match the sampled color that you lot're erasing. This allowed me to get in betwixt the hair strands without erasing them.
In that location's a good chance the Background Removal Tool may be all you demand to complete your task.
But if non, read on.
While removing the background on our example image is mostly straight-forrard due to the fairly solid background, there are inevitably areas of our foreground subject field that become wrongly erased as we work shut to foreground's edges.
In our case, the foreground and background share like colors due to the lighting. This will exist easiest to repair using Photoshop's Pen tool. I only take a small section I need to touch up, and then I'll employ the Pen to create a clean pick and delete the unwanted background.


Decision
—
If y'all are working with a bones paradigm with ample visual dissimilarity between the subject and background, you can near probable get away with using just the Background Eraser Tool.
More than complex images volition likely crave a mix of tools, samplings, and tolerances along with occasional manual touch-ups. There volition be times when there is no visual divergence between the foreground and groundwork. We accept to manually impose that distinction.
And don't forget that if you lot are saving your epitome without adding a new background, you need to relieve it as a PNG to maintain the transparency.
This commodity was originally written for Sitepoint by Jennifer Farley and Gabrielle Gosha.

How To Remove Background Color In Photoshop,
Source: https://99designs.com/blog/design-tutorials/how-to-quickly-remove-a-background-in-photoshop/
Posted by: devaughngeoppince1952.blogspot.com
0 Response to "How To Remove Background Color In Photoshop"
Post a Comment